Log in to Okta Admin portal. The URL of this should be like companyname-admin.okta.com
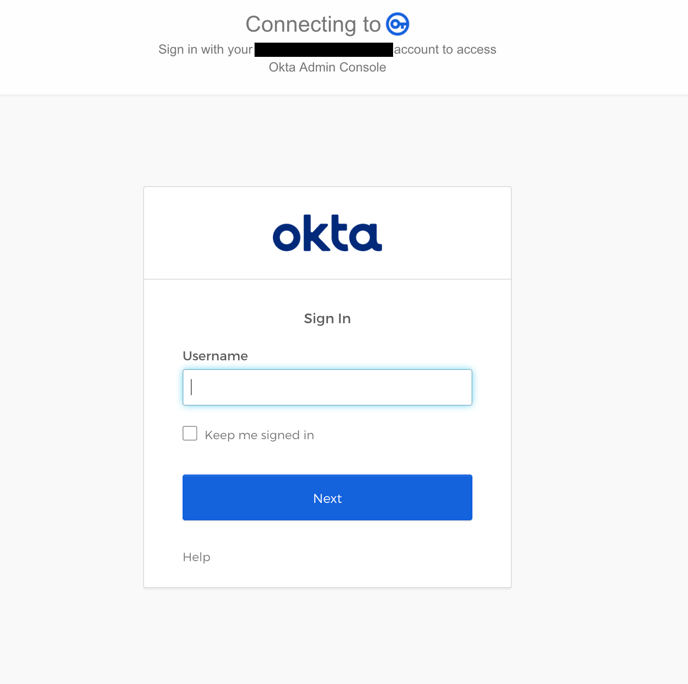
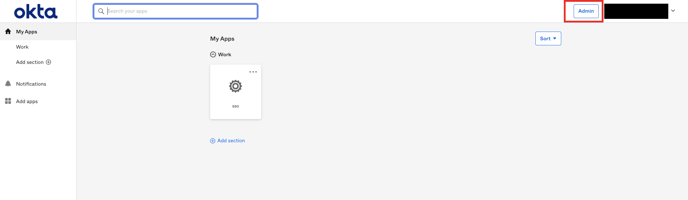
- You may need to manually navigate to the Admin portal
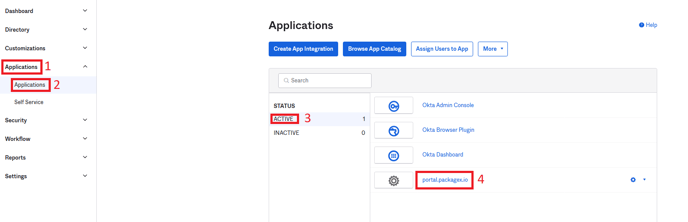
- Navigate to Applications → Applications

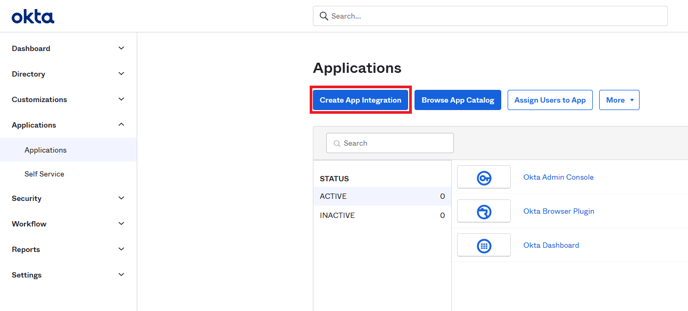
- Then click “Create App Integration”
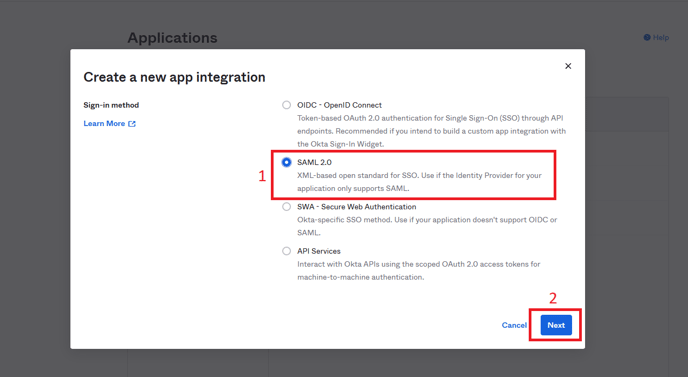
- Select SAML 2.0 and click “Next”
- In General Settings, Add “App name” e.g. portal.packagex.io (this can be anything) and click “Next”
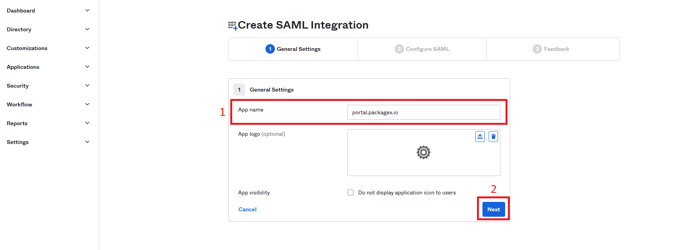
- The “Configure SAML” section will open
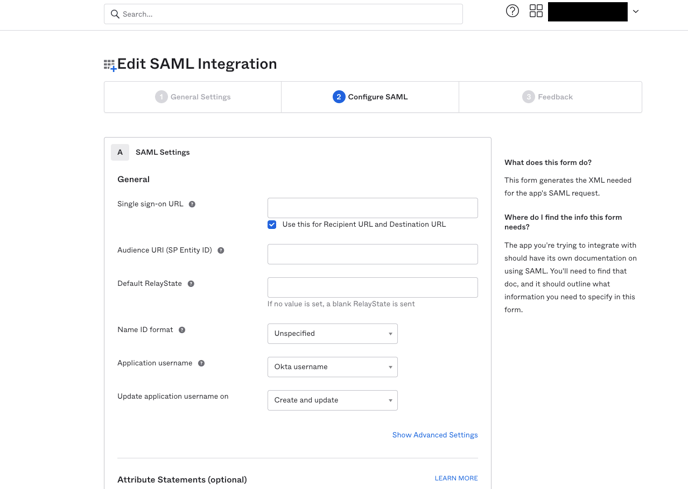
- You need “Audience URI (SP Entity ID)” and “Single sign on URL”
- These can be obtained from the PackageX dashboard. Follow the below steps to obtain them:
- Login to https://portal.packagex.io
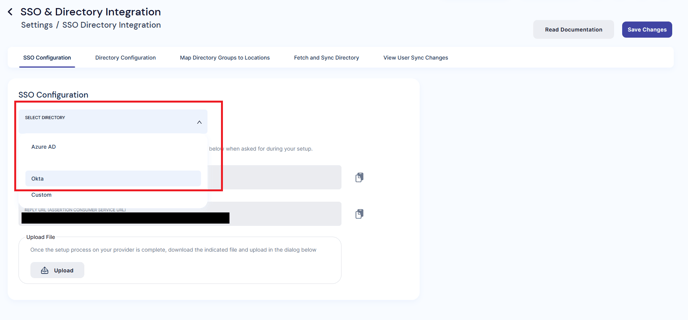
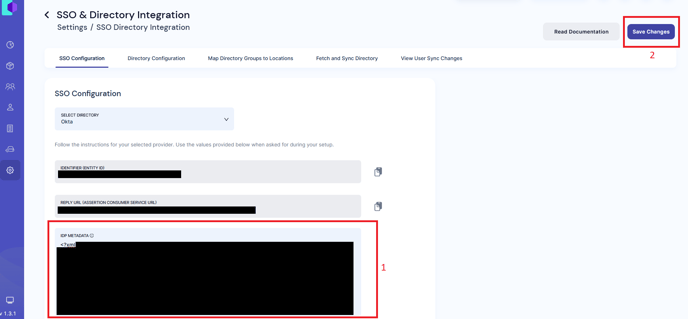
- Navigate to Settings → SSO & Directory Integration on the PackageX Dashboard
- Select Okta as the Directory Provider
- Copy the Identifier (ENTITY ID) from the PackageX Dashboard to Audience URI (SP Entity ID) field on the Okta Dashboard
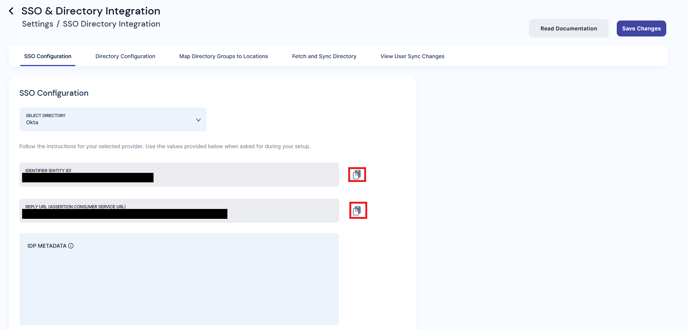
- Copy the REPLY URL (ASSERTION CONSUMER SERVICE URL) from the PackageX Dashboard to the Single sign on URL in the Okta Dashboard.
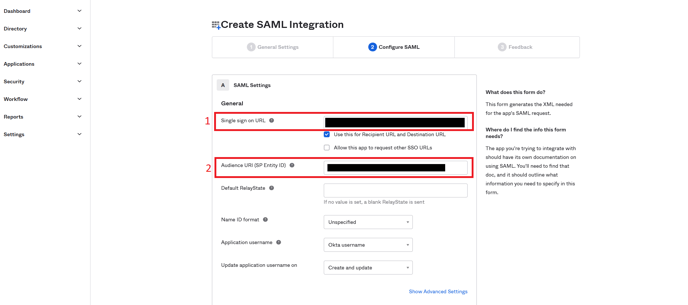
- Leave the other fields in the General section to their default values (reproduced here for completeness and shown in the image above):
- “Name ID format”:
Unspecified - “Application username”:
Okta username - “Update application username on”:
Create and update
- “Name ID format”:
- (Scroll down and) Add the following two items in the Attribute Statements section
| Name | Name format | Value |
|---|---|---|
| http://schemas.xmlsoap.org/ws/2005/05/identity/claims/name | URI Reference | user.firstName + " " + user.lastName |
| http://schemas.xmlsoap.org/ws/2005/05/identity/claims/emailaddress | URI Reference | user.email |
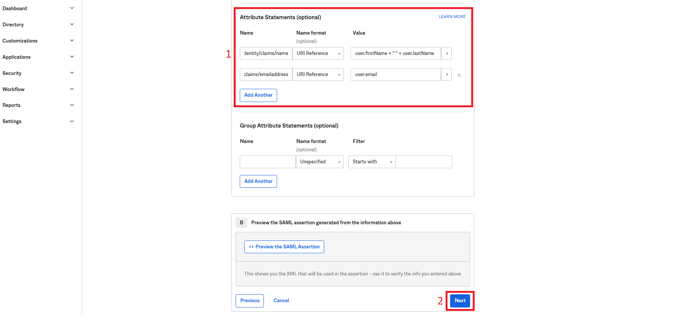
- Then click “Next”
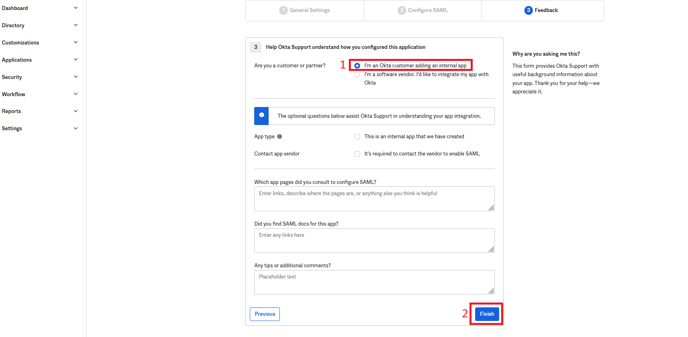
- In Feedback, check “I'm an Okta customer adding an internal app” and click Finish.
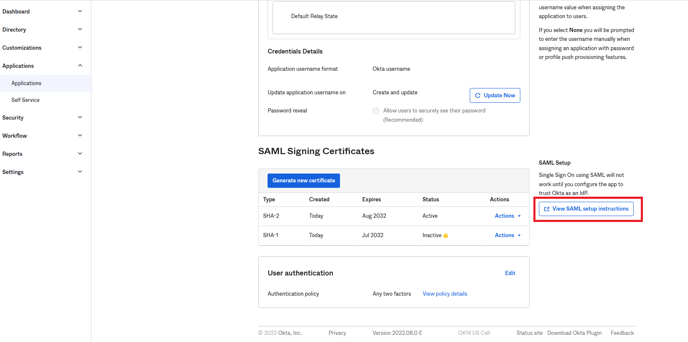
- You will be taken to the application details page here, Click on Sign On tab
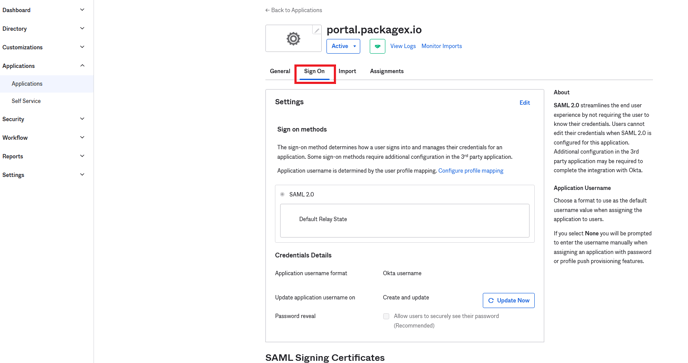
- Scroll to the bottom and click View SAML setup instructions
- In the new browser tab that is opened, scroll to the bottom Optional section
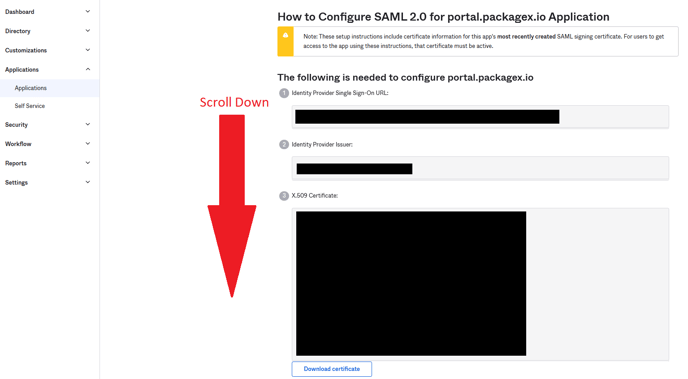
- Select and copy all the text in the box highlighted below

- Paste this text in the IDP metadata text area on the Receive dashboard and click Save.
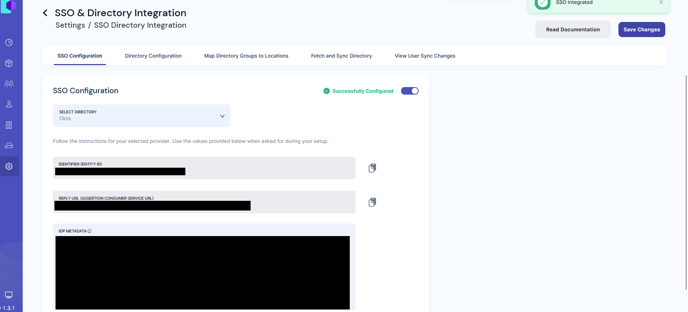
- After successful processing, SSO will be enabled
-
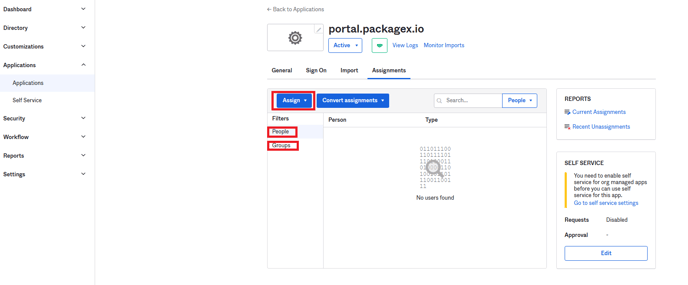
Go back to your Okta Admin portal, and open the “portal.packagex.io” application
- Click on the “Assignments” tab. You can add people and/or groups here to the app.
- Only users added to this app and users in the groups added to this app will be able to login to PackageX Receive using SSO
- Please make sure to also add the email addresses of the people as “Users” in PackageX Receive Dashboard: https://portal.packagex.io/users/add-new
- You may logout and log back in using SSO now
- In case there is a problem with the integration, the original Admin of your organization will still be able to login with username and password
Conclusion
- This ends the SSO Integration phase.
- You can optionally integrate the Directory itself with PackageX which will allow for syncing of Recipients and fetching of Users.
- Please note that this option will allow PackageX to fetch information on all directory users, groups, and profiles.